Film photography, when compared to digital, is something of a gamble — especially if you shoot professionally. The costs incurred and the energy expelled for zero guarantees of any desirable outcome can be a pretty heavy deterrent for some. But then there’s that feeling when your film comes back and your photos look like you slipped into an alternate dream dimension and somehow managed to snap a few pics before coming out the other side of the rabbit hole. Those magical moments make it all worth it.
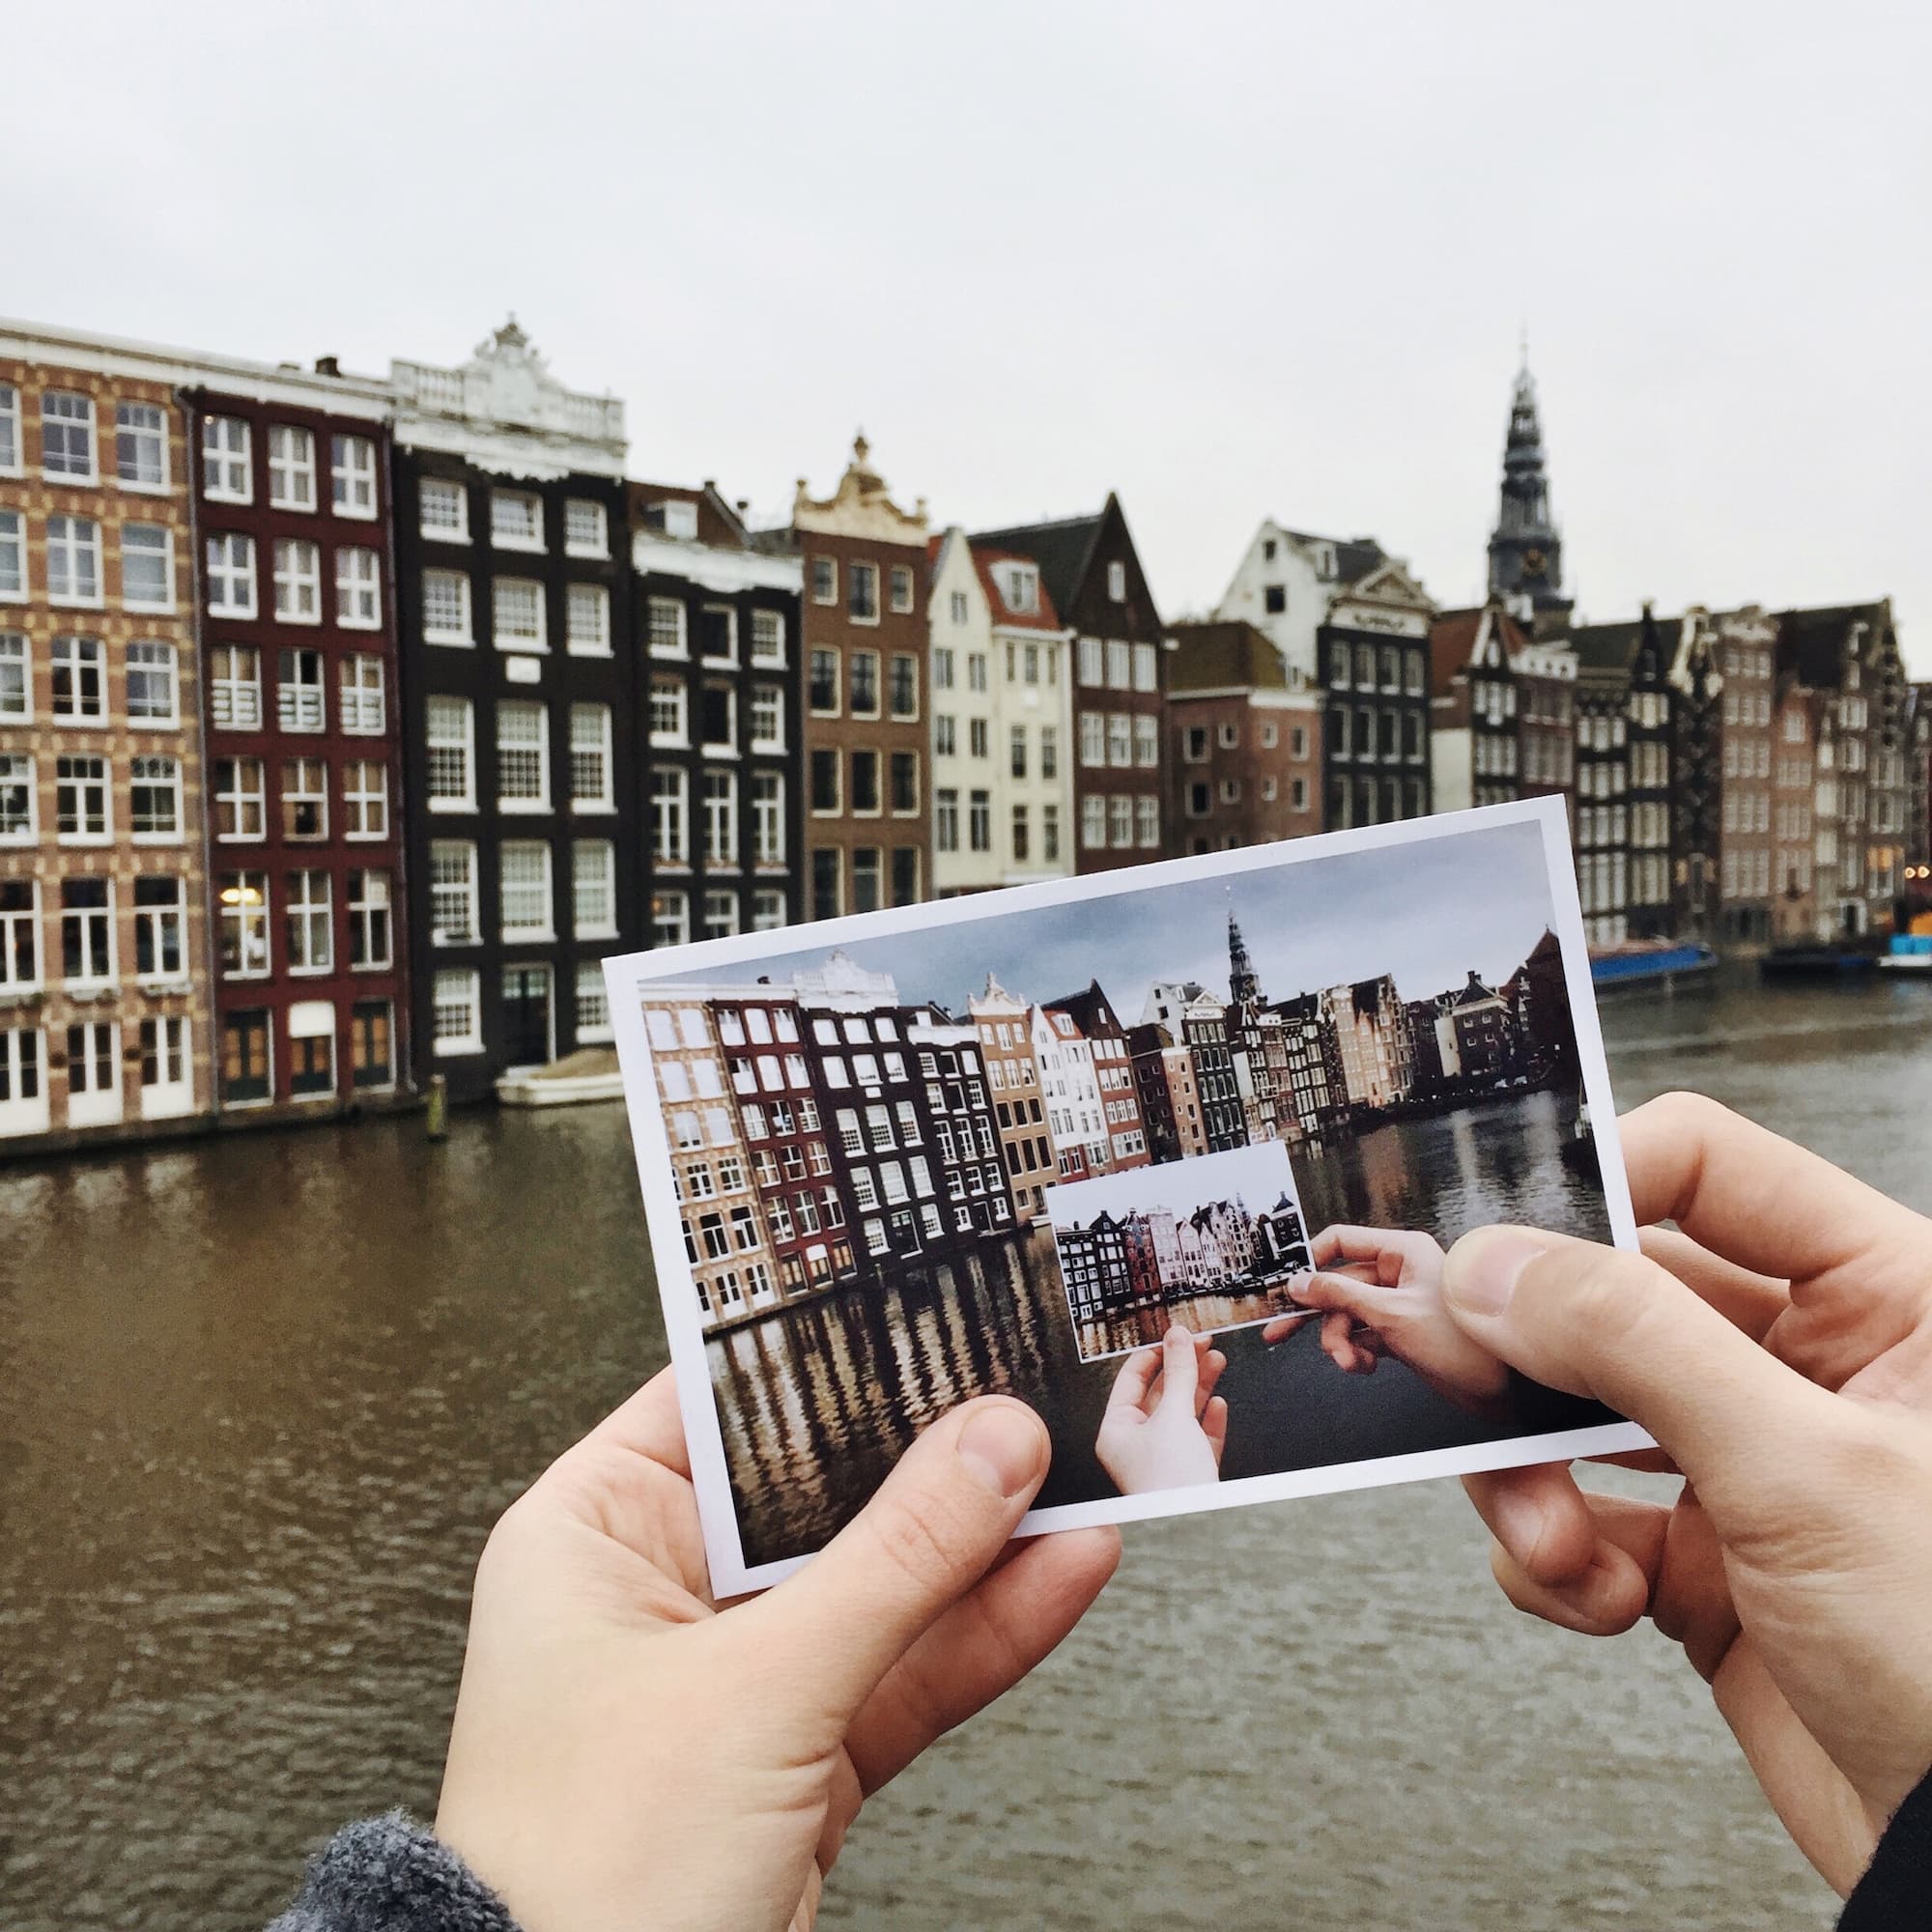
You can rely on chance to capture fantasy on film or you can experiment with these effects for the ultimate in analogue augmented reality. Check out this post to learn more about stock photography.

Expired Film
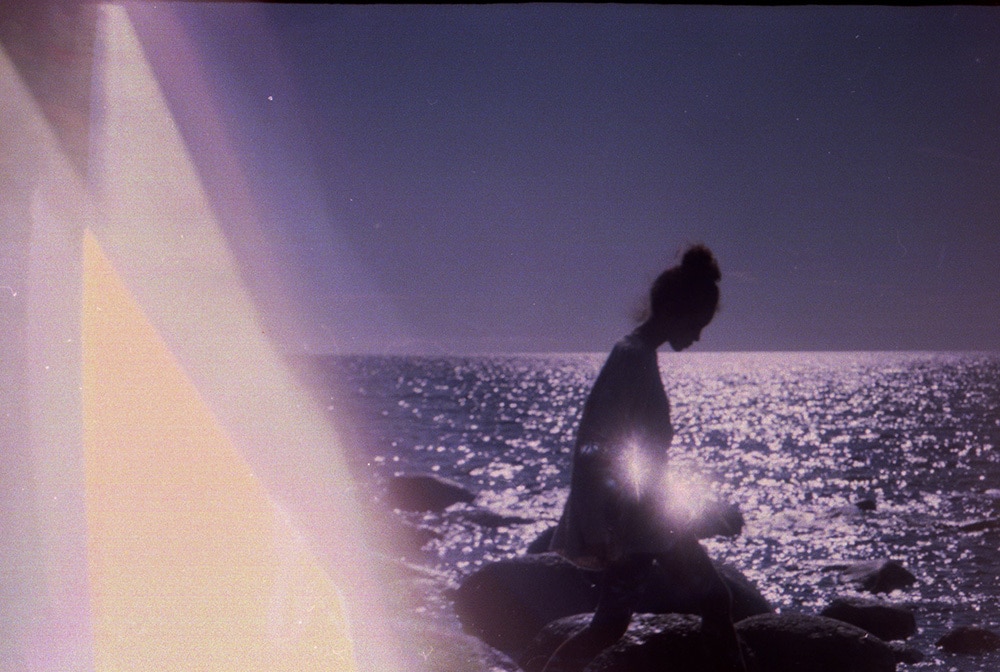
The riskiest roll-the-dice medium, shooting expired film adds a compounded uncertainty but can, in turn, garner some of the most rewarding effects. From light leaks to distortion to dreamy fogging details, the chemical reactions that degrade film make for some fantastic mutations. Buy your expired film online or seek out thrift shops and flea markets.
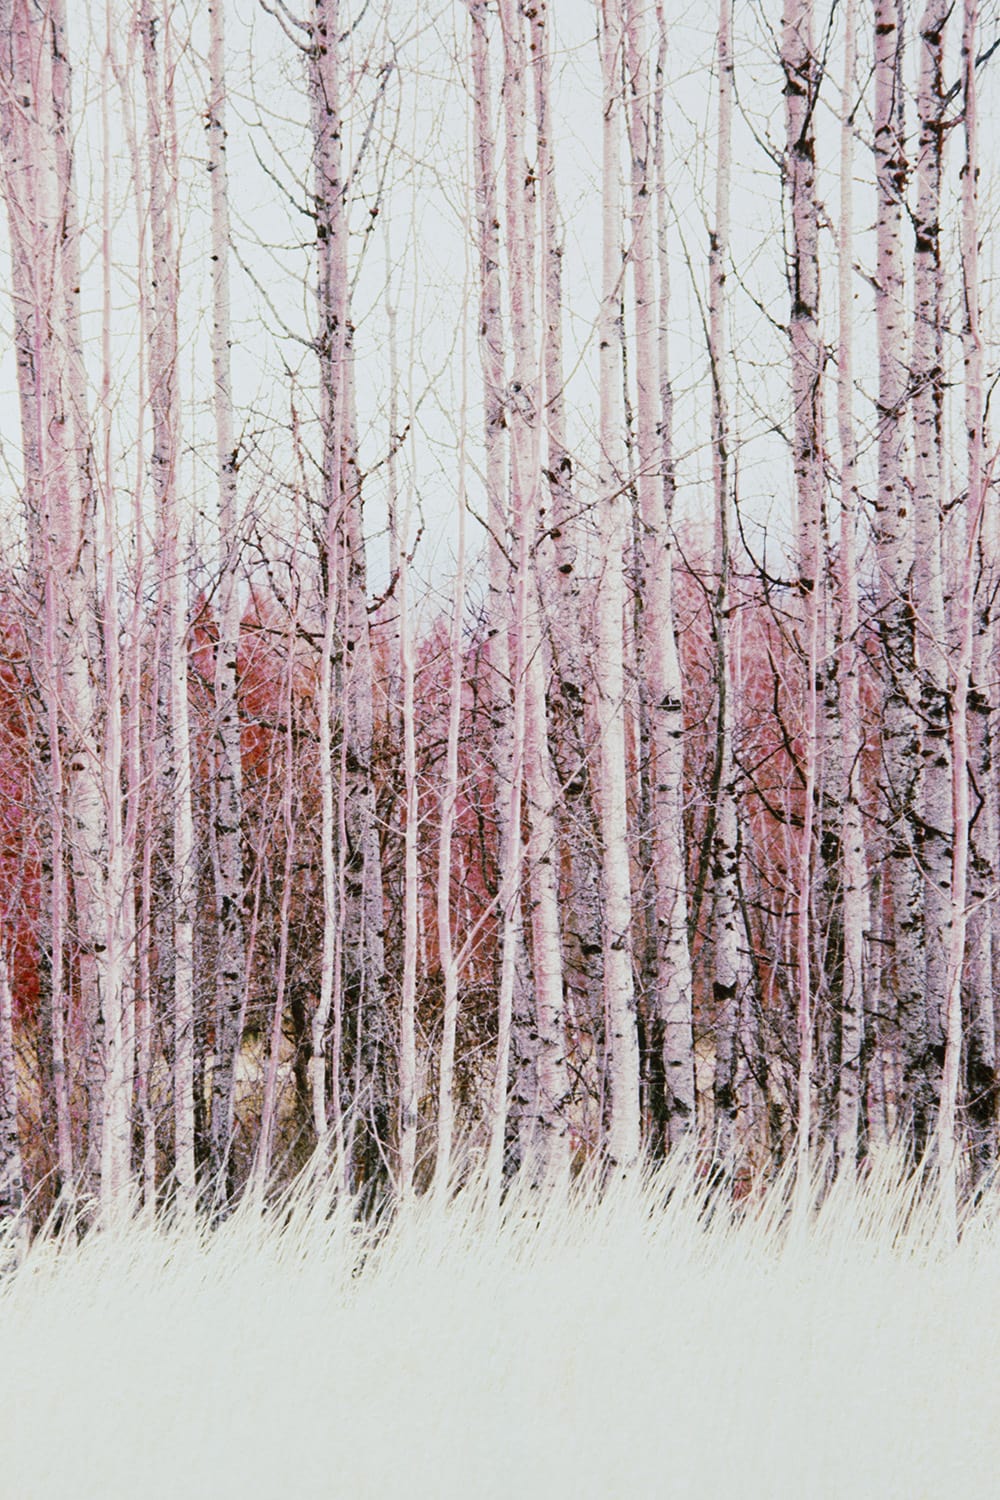
Infrared
Infrared film (IF) can create some of the most surreal, eye-popping photos you never imagined. Things to keep in mind when you attack this medium — IF is extremely light sensitive so once you find some (check camera retailers and online resellers) you’ll need to load it into your camera in an almost completely dark space. As for camera choice, avoid automatic winders — they let small bits of light in — and ditch cameras with DX code readers as the LED sensors they use to read code can fog your IF film. Lame. When you begin shooting (yesss), keep contrasts in mind — i.e. anything that is alive will generally reflect a greater amount of infrared light than inanimate objects and will affect your compositions. The last thing to keep in mind, visible light and IR light focus differently through the lens, you’ll need to adjust for this.

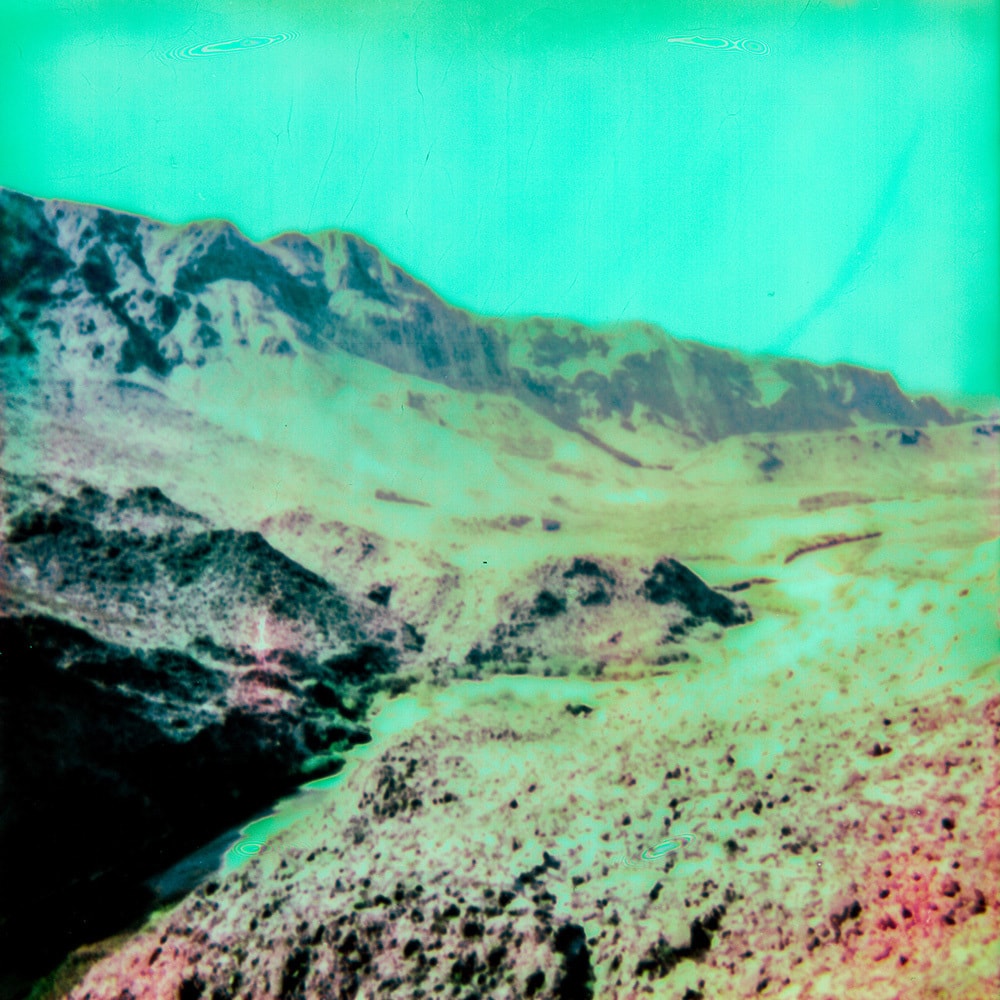
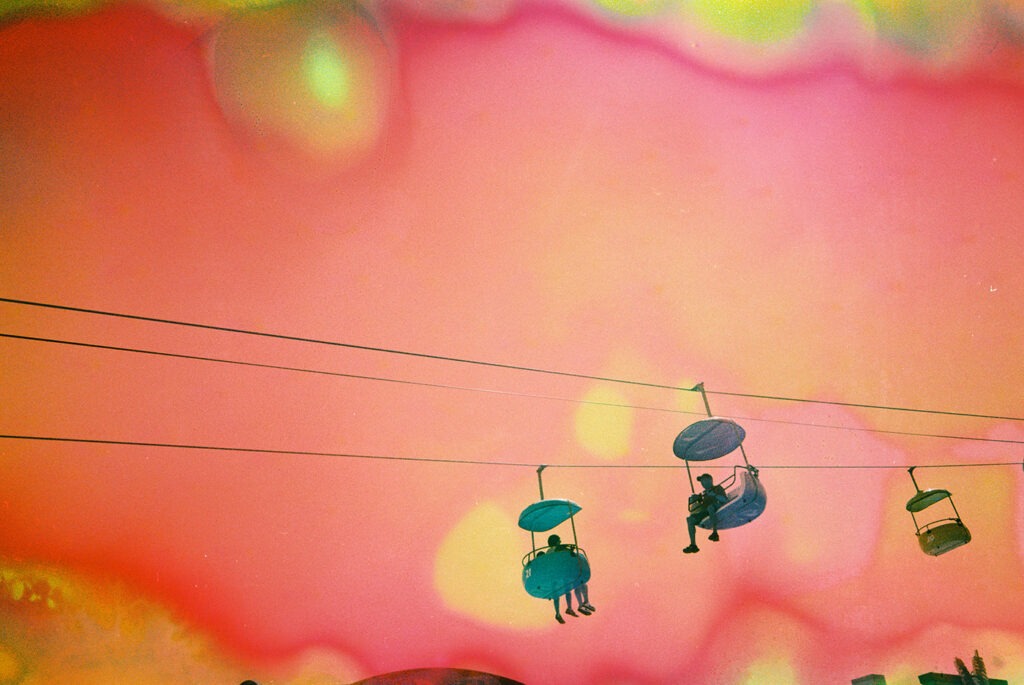
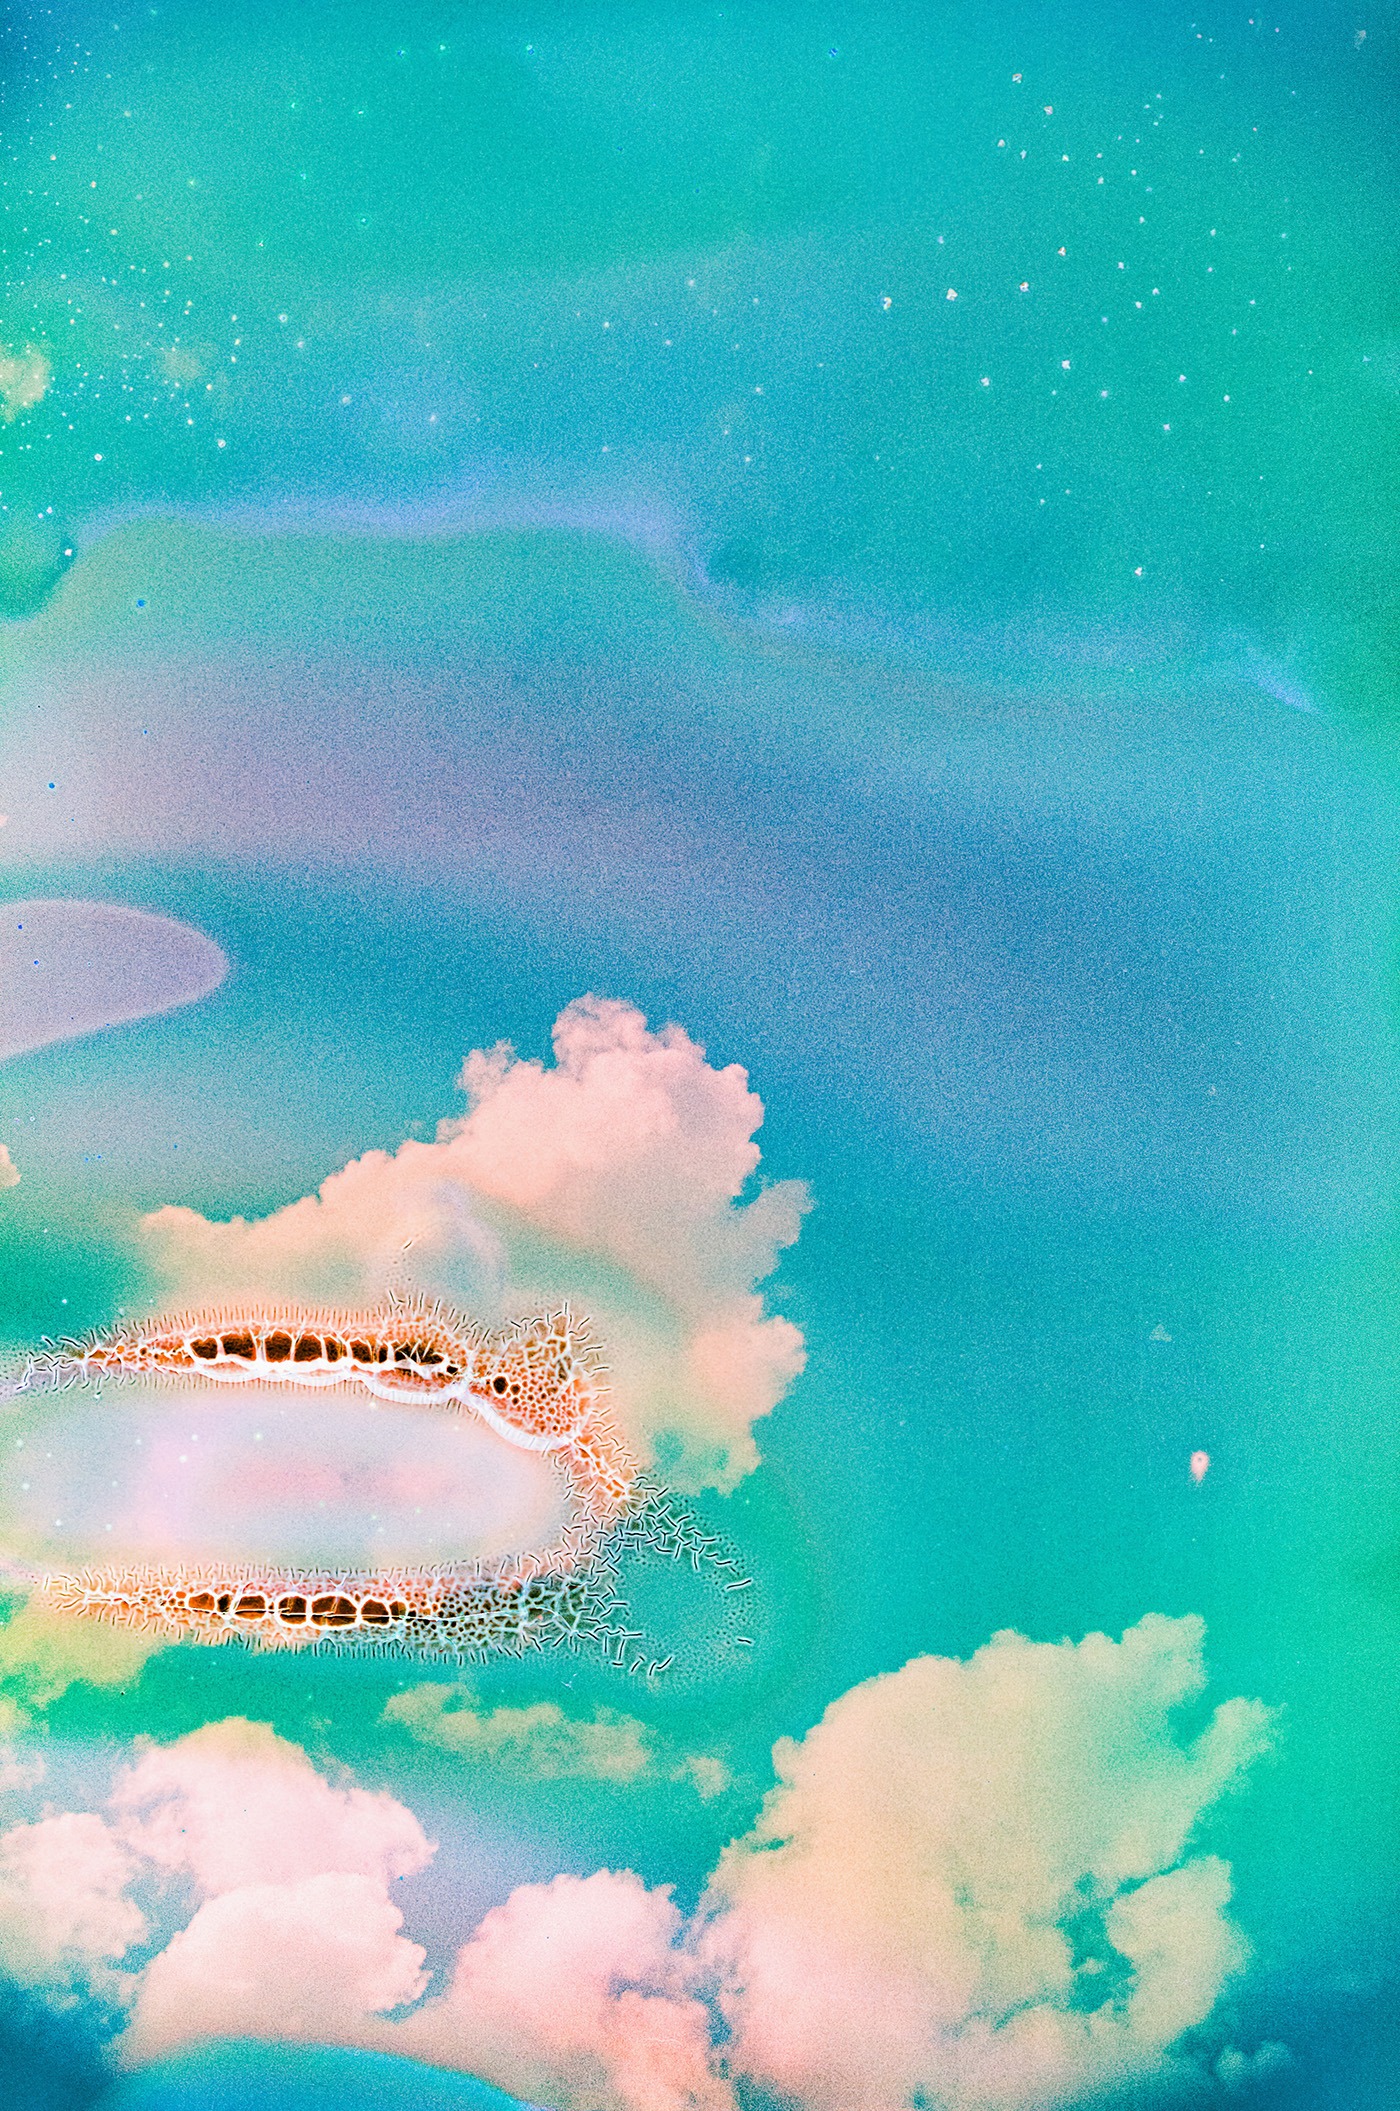
Film Soup
When you’re ready to try some wizard academy alchemy, film soup (soaking your film in concoctions to chemically degrade it) is the right challenge for you. There are endless recipes for creating bizarre film reactions so most of it is trial and error. The more acidic your brew, the more degraded your film will be, so base your recipe on how much you want to alter your film. Be sure to record your recipes so you can compare different batches to one another. Shoot first and soup after or soup first and shoot after. Totally up to you.
Method 1
- Soak film in soup solution for at least 1 hour. Try a mix of lemon juice, water, salt and silica crystals to start. Or coffee. Or the weird thing growing in your fridge. Whatever inspires you.
- Hang to dry for minimum of 24 hours
- Bring into a dark room and pull film out of roll to blow dry.
- Once completely dry, roll film back into canister
Method 2
- Make your concoction. Try the stain remover method and mix together water, salt and detergent.
- Take your film out of its roll in a dark room
- Spatter film with detergent mixture. Fingers or an old paintbrush will work. Leave for 3 minutes and roll back into canister.
- Boil film in water for a max of 5 minutes, stirring all the while. Leave a bit of the film exposed so you can see if it’s becoming wrinkled. If it does, take it out immediately anf plunge into cold water.
- Take back to dark room. Unroll and dry with blow dryer. Feed film back into canister.
*Be sure to tell the developer that you have souped your film. Some won’t take it as your soup can tamper with equipment and impress onto other people’s film. Soup responsibly.

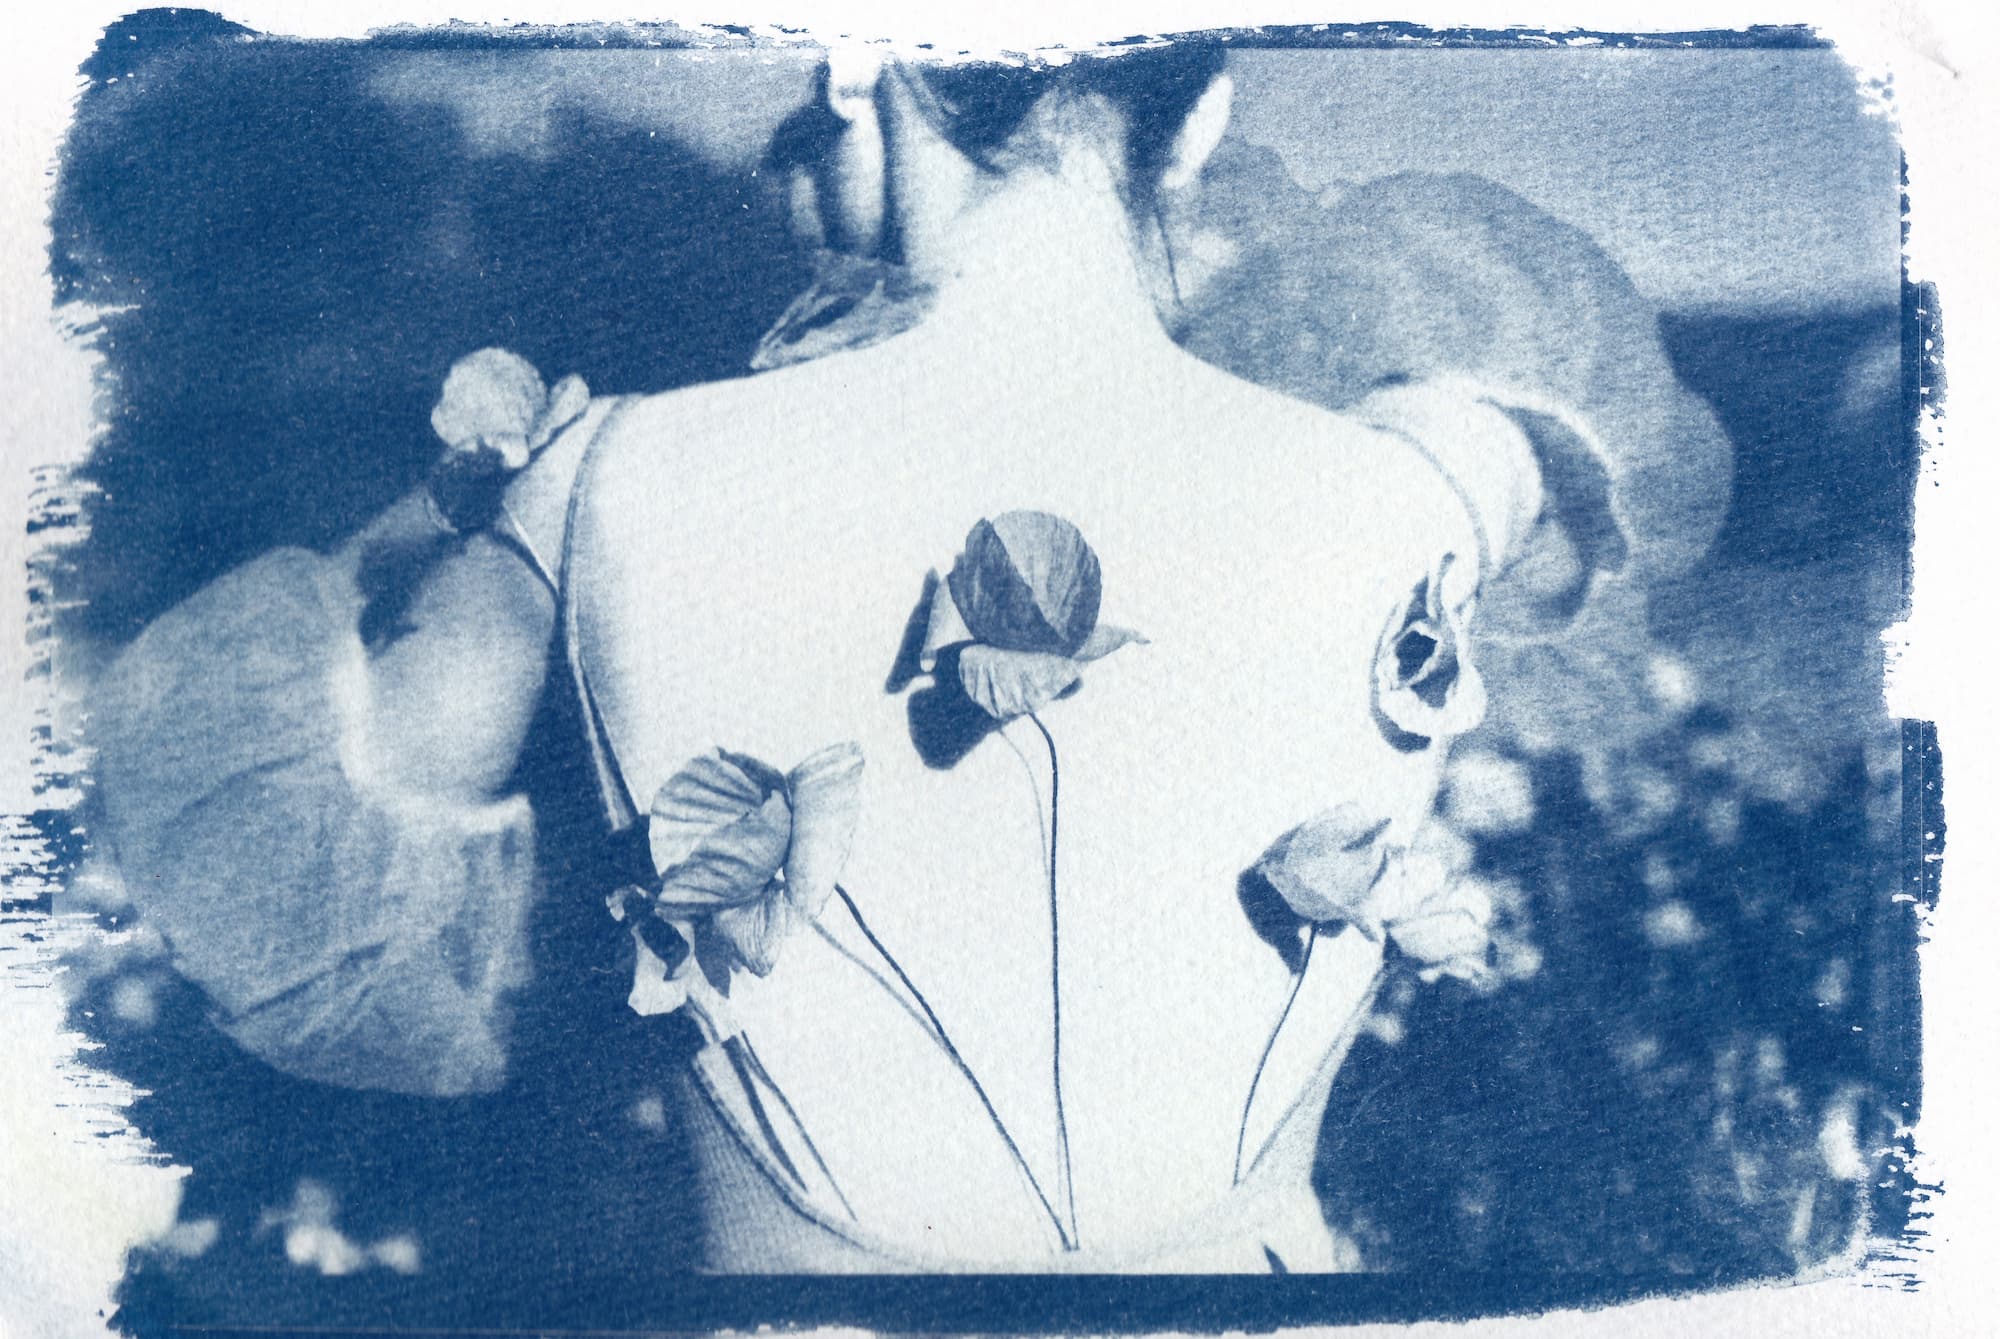
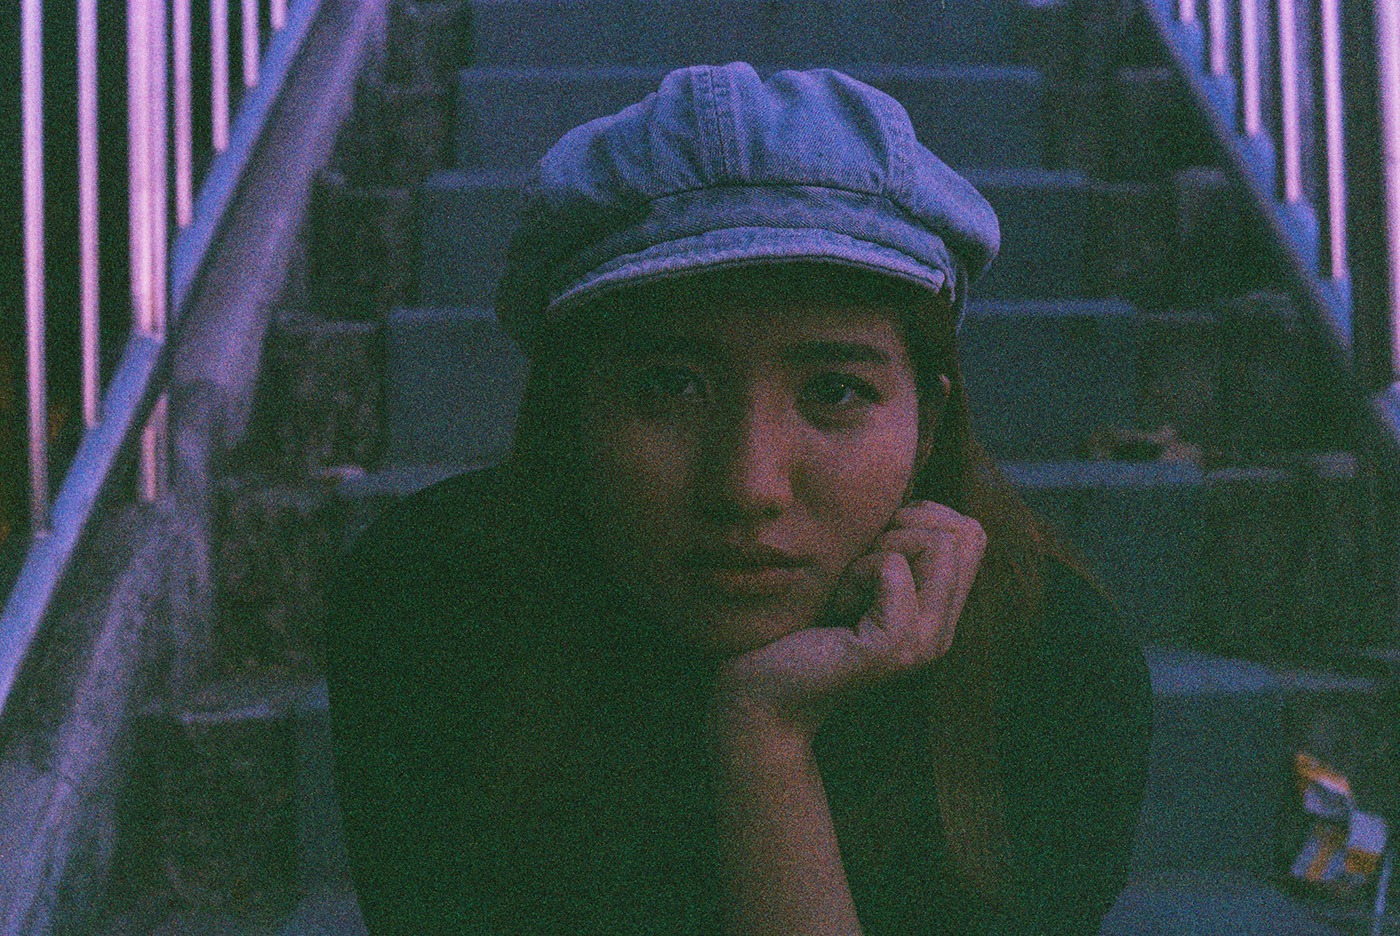
Cross Process
Also known as Xpro, cross processing is the practice of developing film in the chemical solution intended for a different kind of film. For example, you can process your colour negative film in the chemicals intended for developing slide film or flip the process around. Generally, around 99% of Xpro images are processed with transparency film in negative chemistry so that’s a good place to start. With the results of cross-processing often coming out like delirious dreamscapes, what’s not to love?


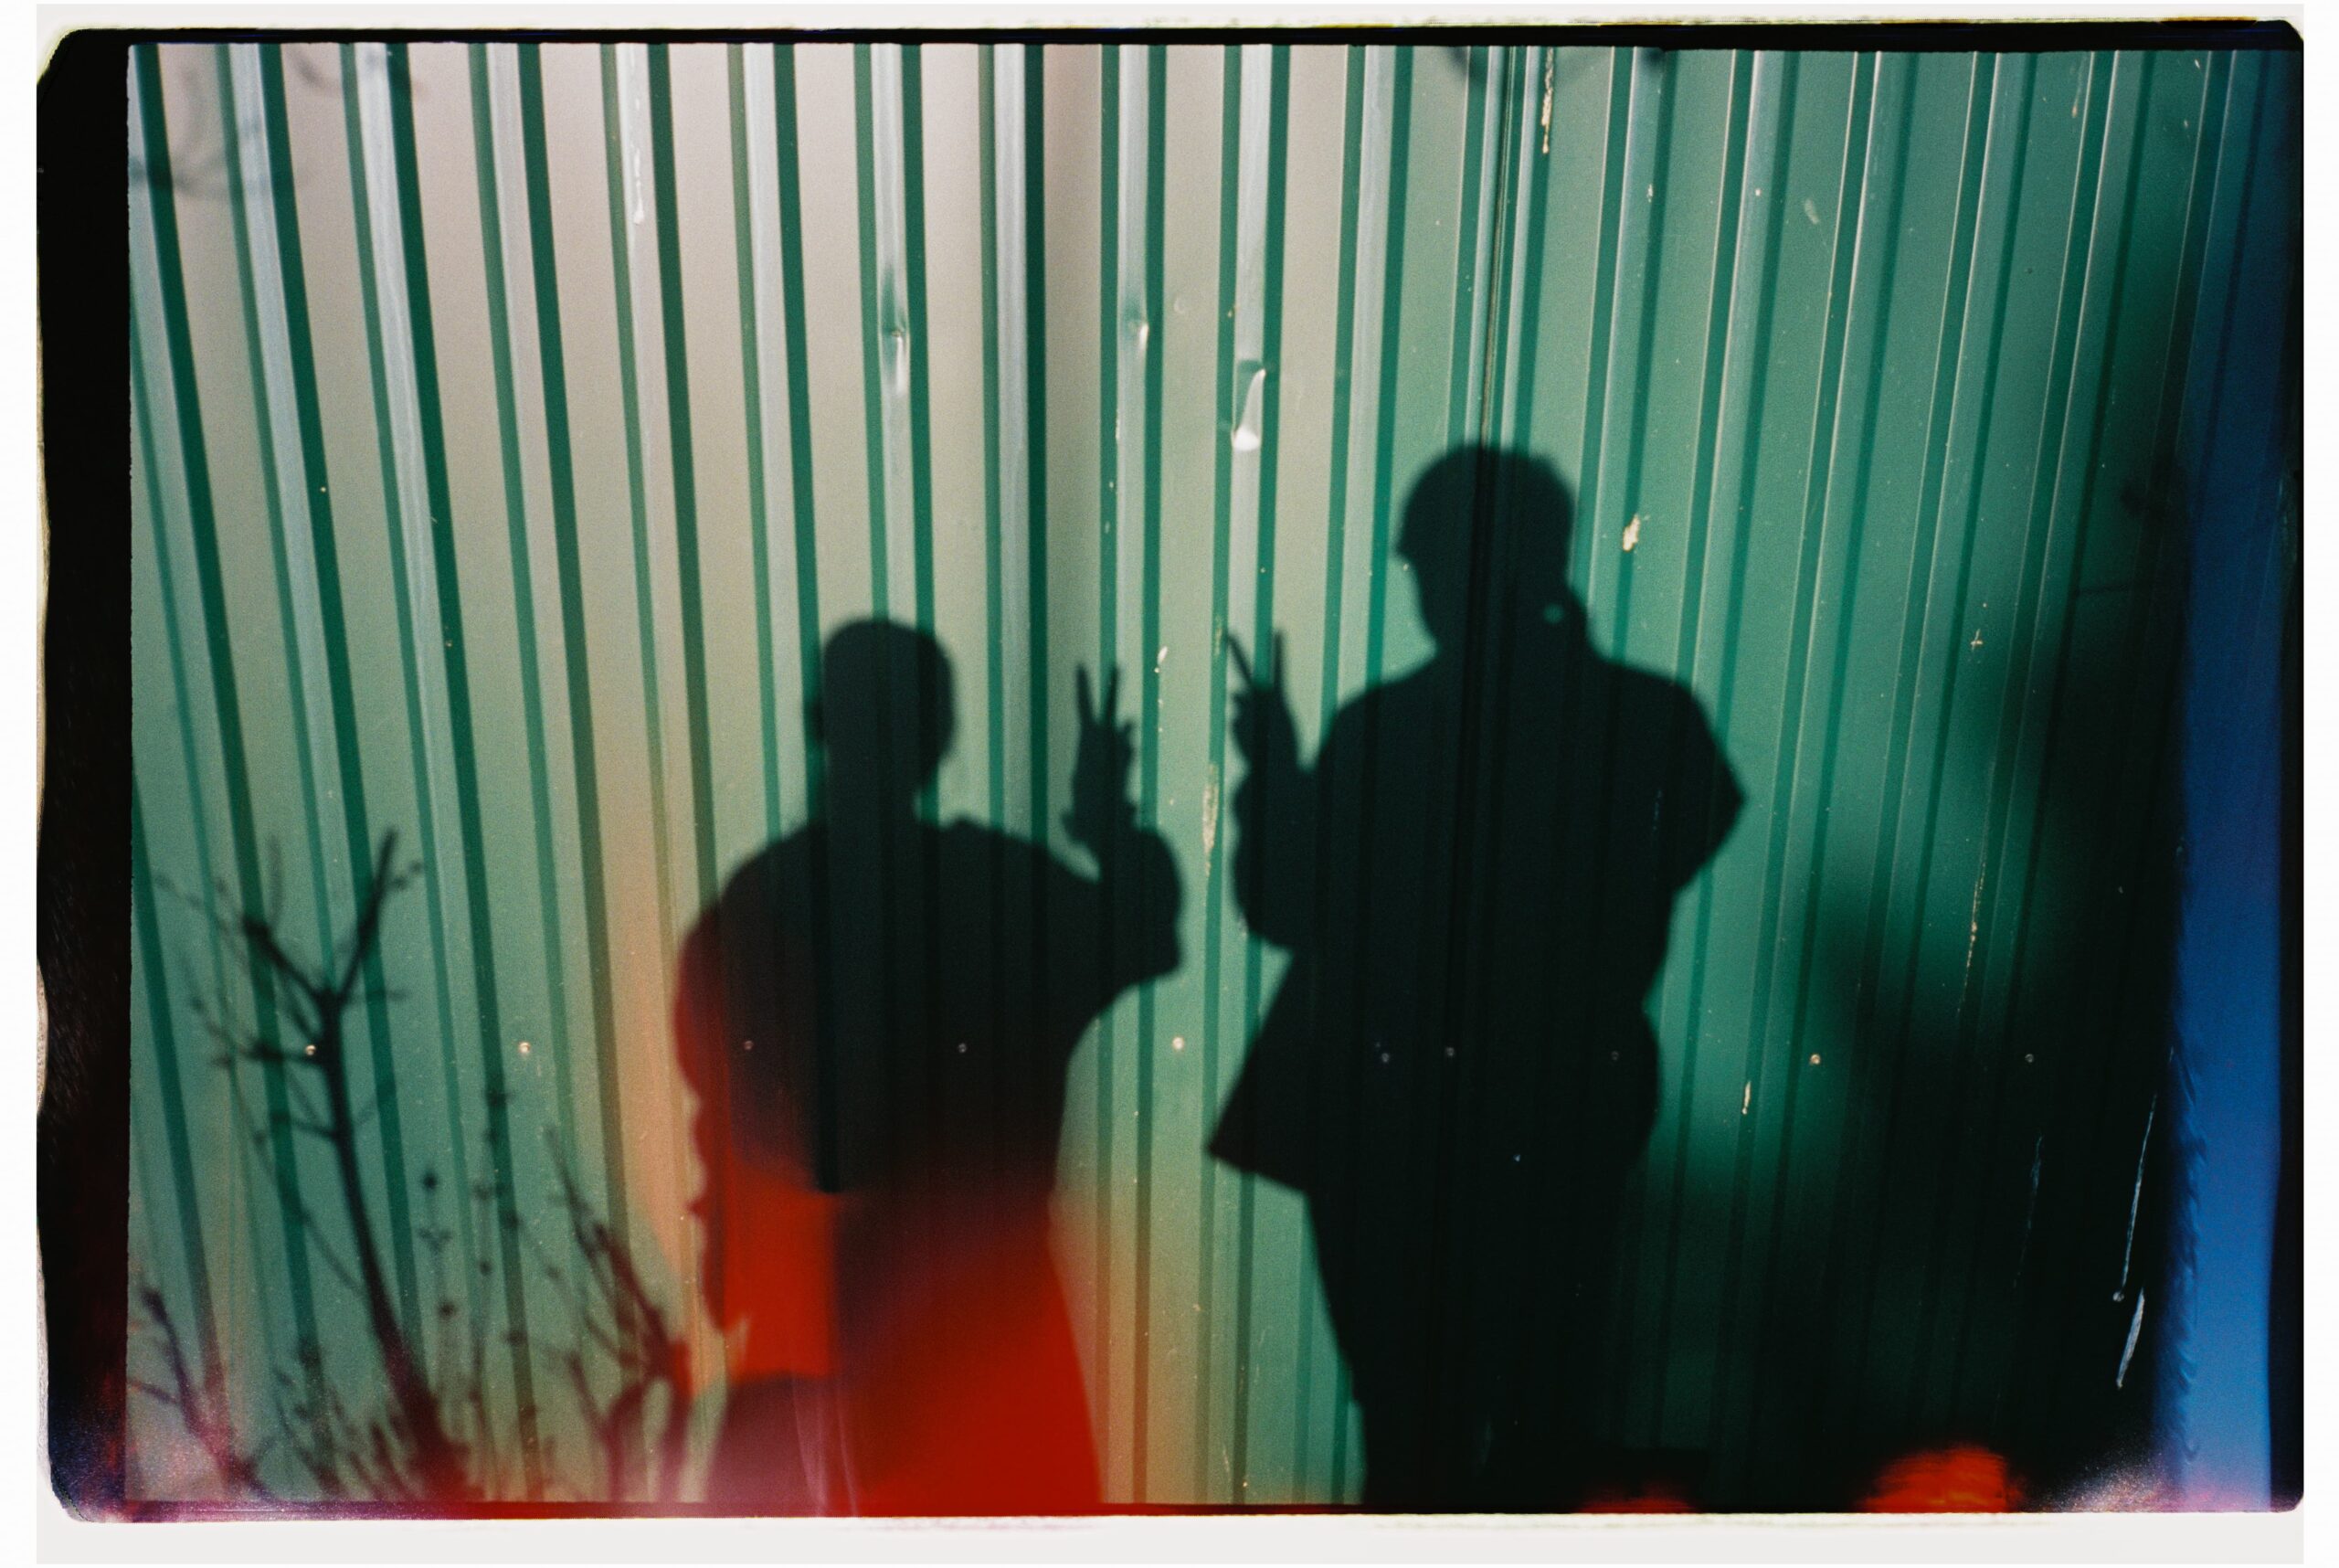
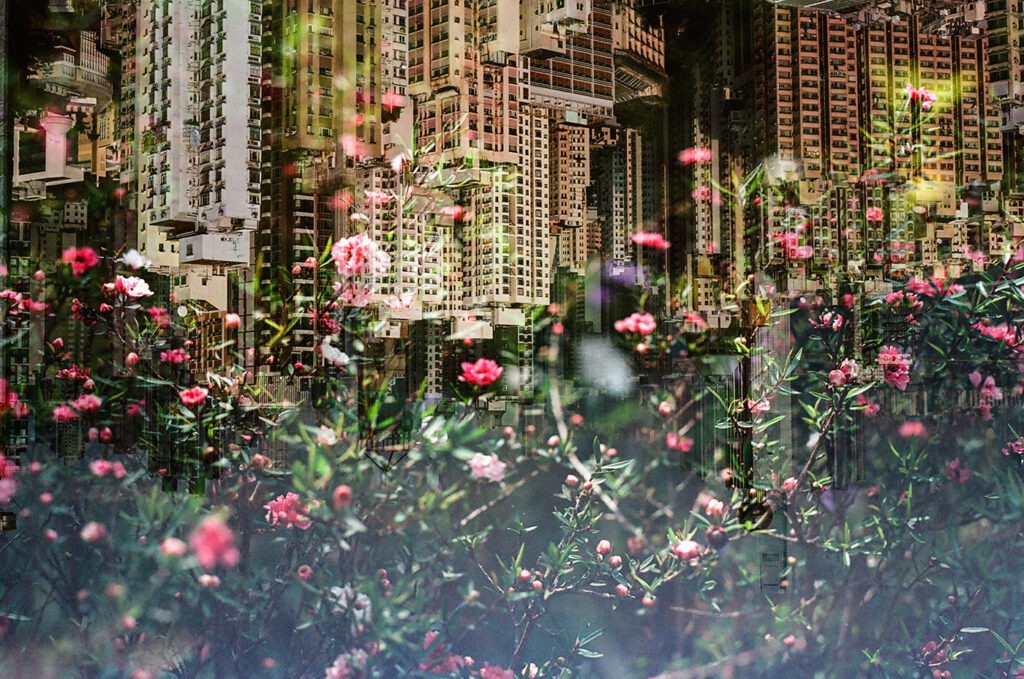
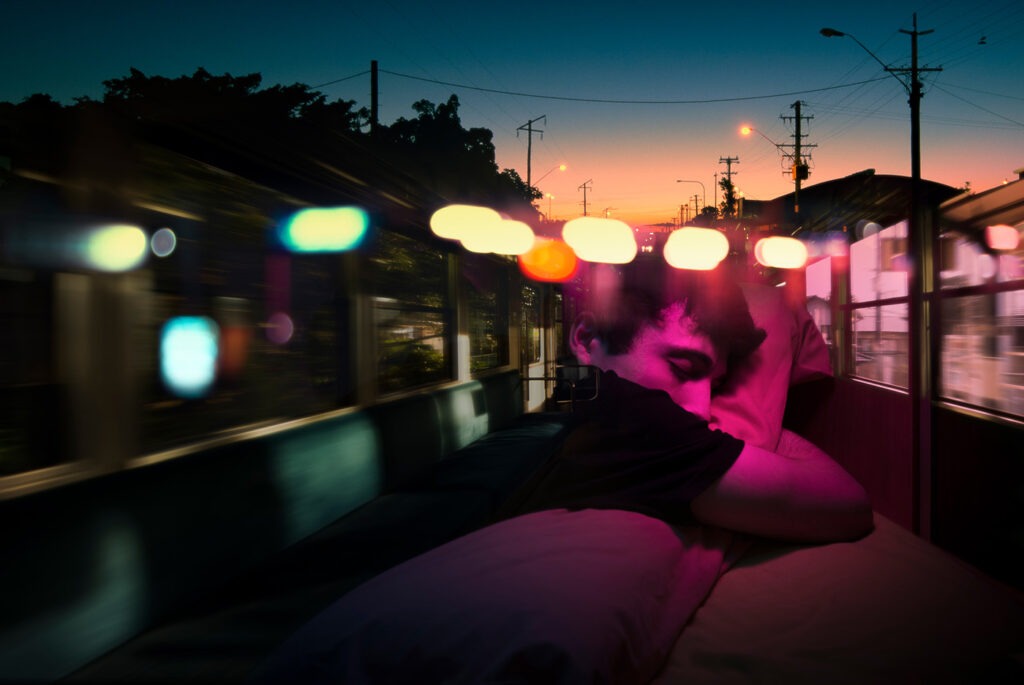
Double Exposure
When shooting double or even multiple exposures, the same frame gets repeatedly exposed to the light. Choosing and balancing your subjects is important when implementing this technique/effect. Layering a “busy” image (one that has a lot of details) with one that’s simpler is a common practice and perhaps a good place to start out. Try underexposing for the best results and drop your aperture by one f/stop for double exposures. Check out more in depth detail on double/multiple exposures from Stocksy film artist Wendy Laurel.
Happy experimenting.
Get more motivation or just have a fantastic film photography space out in this gallery


Sources:
The Dark Room – IR Photography Guide
Lomography – Film Soup Tutorial
Lomography – How to Shoot Expired Film
Wendy Laurel – Double Exposure Guide
Originally written by Tara Campbell, edited and maintained by the Stocksy team.