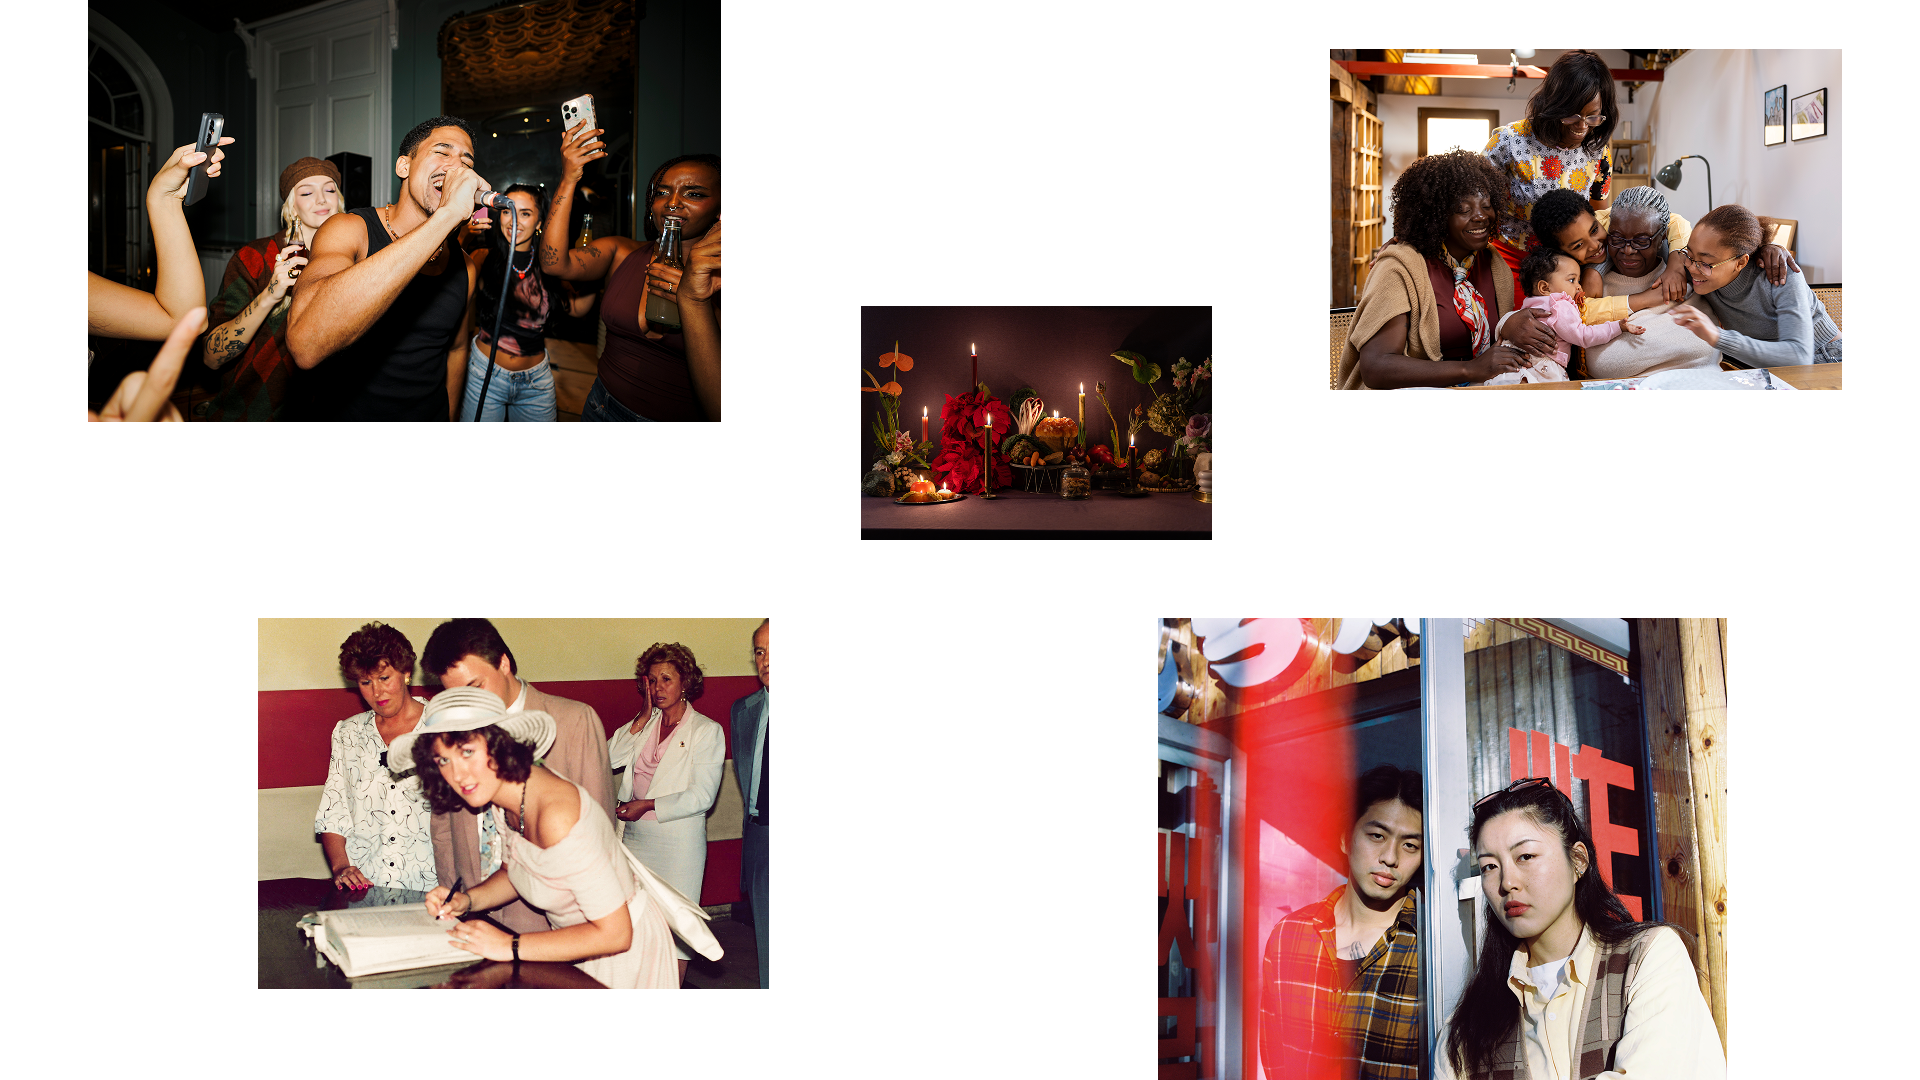
Welcome to our new “Making The Fourth Wall” tutorial series. Each week, our video team will be helping you learn more about how to tell stories with video. Episode 1 focuses on the basics of filmmaking and is a great resource for those of you that may be transitioning from photography to video (or have been thinking about it but don’t know where to start).
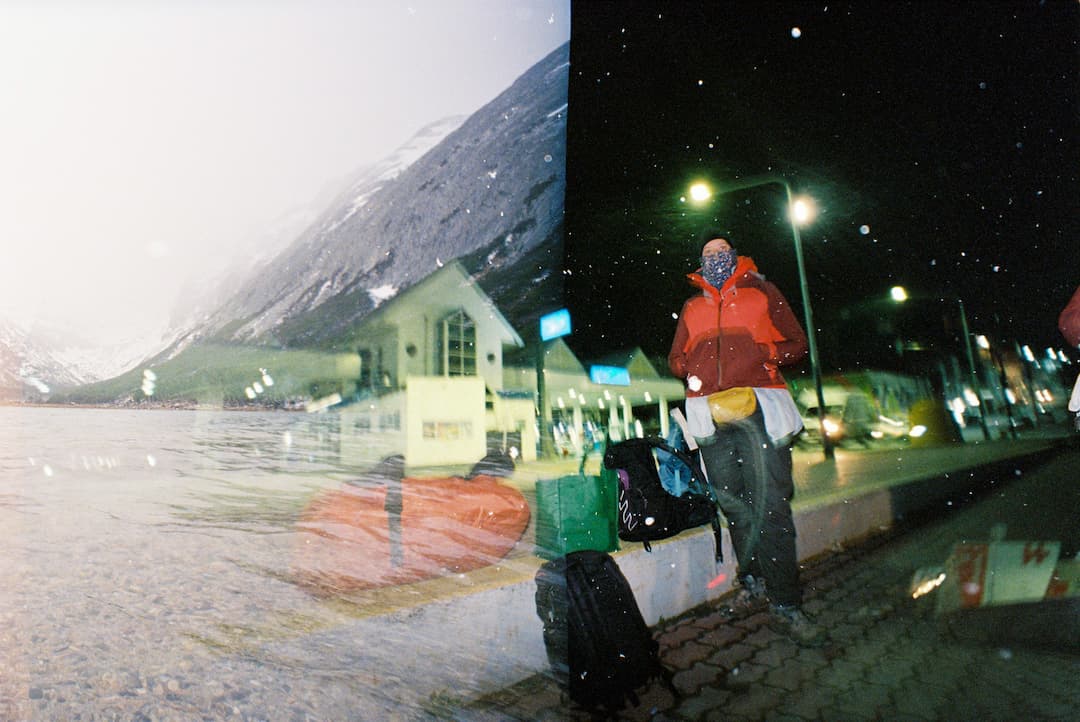
Shot in Atlanta, GA during the production of a short film called “Homme” — written and directed by one of our Senior Artist Relation’s Associates, Matthew Addington — our team braved the winter cold and worked together with an amazing team of creatives to bring you something we hope will entertain, educate and show you how simple it can be to create engaging video.
Episode 1: The Basics
Frame Rate / Frames Per Second (FPS)
Also known as “frame frequency”, frame rate is the frequency (rate) at which an imaging device displays consecutive images called frames — expressed in frames per second as FPS.
- 24fps: Cinematic frame rate – that’s what gives you the nice motion blur you see in movies and this is the frame rate Stocksy prefers.
- 60fps: Shots in 60 fps or above look like “soap operas” and more true to real life, but not cinematic enough.
- 60fps, 120fps or higher will be converted to 24fps and will appear in slow motion.
- Current software can accept clips in any frame rate and will typically auto convert them to the fps settings of your project with minimum issues.
- Some cameras like the RED Epic are able to capture super slow-motion shots (the Epic for instance shooting up to 300 fps) and interpolate the footage automatically down to 24fps.
Shutter Speed
- When filming in real time: Double your frame rate.
- If shooting at 24fps set your shutter speed at 50.
- If shooting at 60fps set your shutter speed at 120.
- If a clip filmed in a high frame rate might ever be used in real-time, then you need to keep the 180 degree shutter, otherwise, if it’s meant to be kept slow, you can go with a much higher shutter.
Exposure + ND Filters
If you’re shooting in bright light, you might be thinking, “How do I get this exposure right when I have to shoot 1/50 as my shutter speed?” The answer is to use an ND (neutral density) filter. This is like putting sunglasses on your lens — they basically filter the amount of light hitting the sensor. You can get variable ND filters that will give you a multitude of darkness options, or just stick with single darkness options.
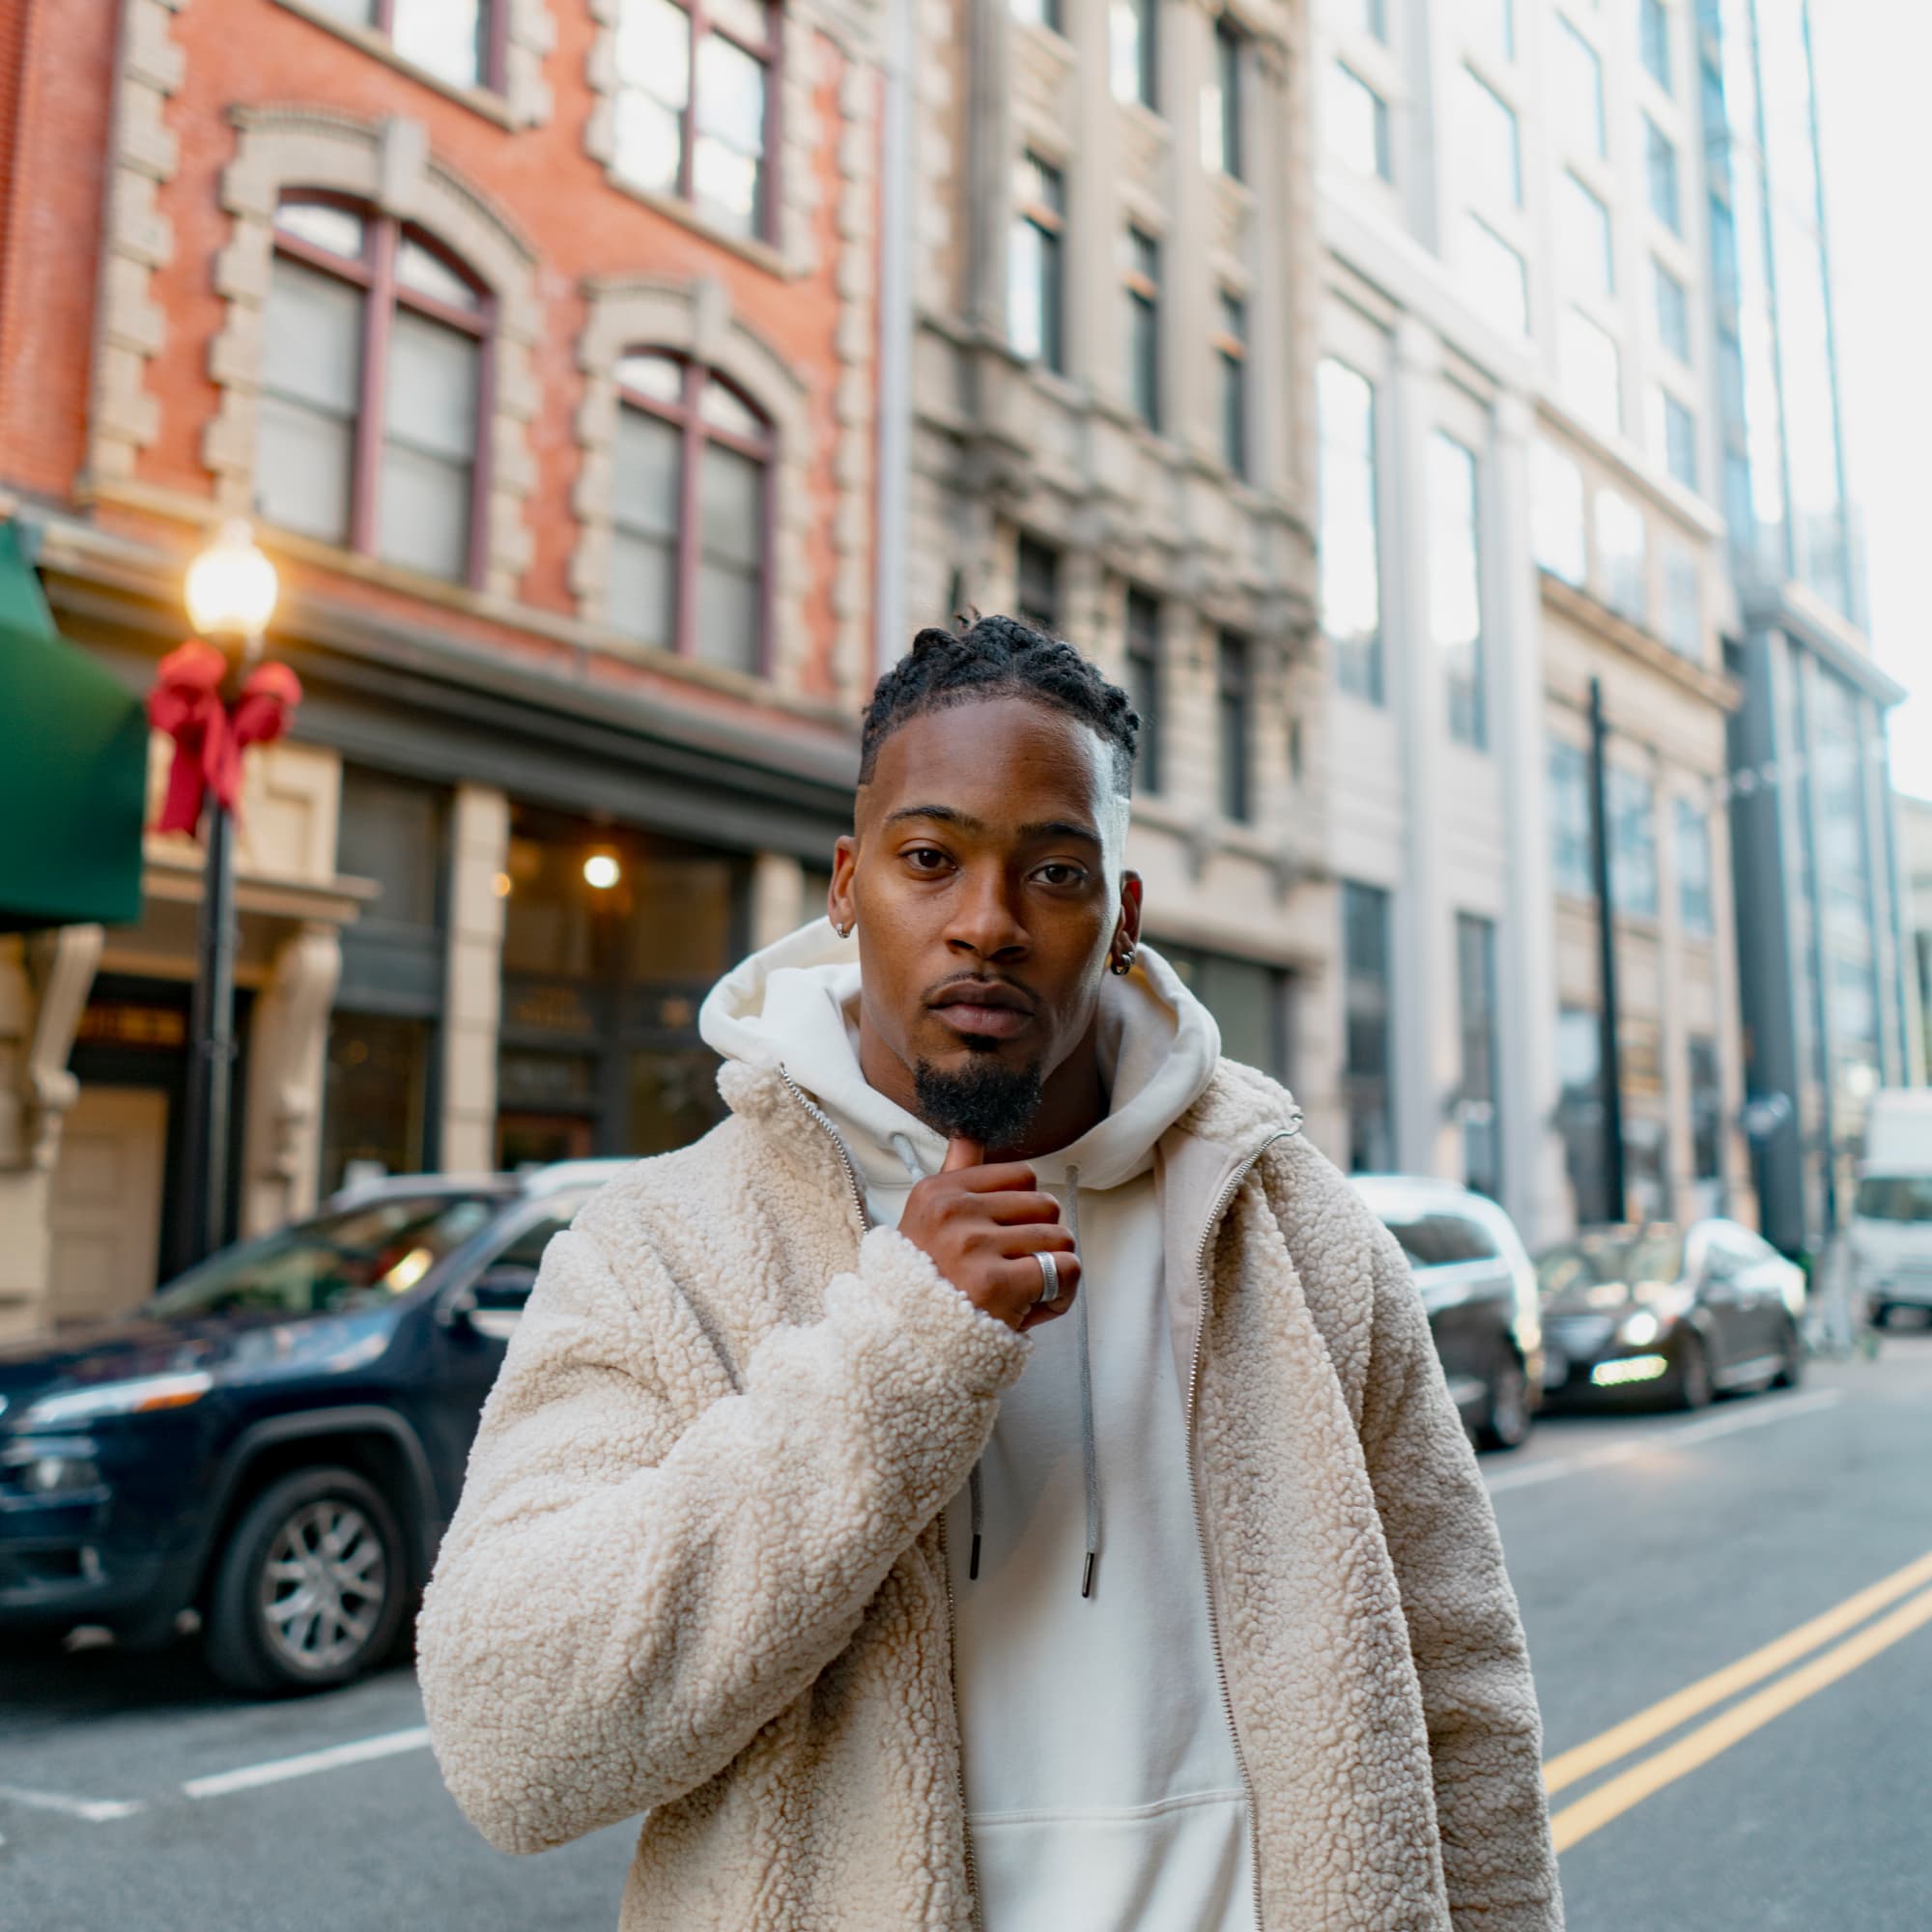
Camera Angles
- Eye-Level
This is the most common view, being the real-world angle that we are all used to. It shows subjects as we would expect to see them in real life. It is a fairly neutral shot. - High Angle
A high angle shows the subject from above, i.e. the camera is angled down towards the subject. This has the effect of diminishing the subject, making them appear less powerful, less significant, weak, scared or even submissive. - Low Angle
This shows the subject from below, giving them the impression of being more powerful or dominant. - Bird’s Eye
The scene is shown from directly above. This is a completely different and somewhat unnatural point of view which can be used for dramatic effect or for showing a different spatial perspective. In drama it can be used to show the positions and motions of different characters and objects, enabling the viewer to see things the characters can’t. The bird’s-eye view is also very useful in sports, documentaries, etc. - Worm’s View
Opposite from Bird’s Eye view, this angle is close to the ground looking up, conveying an unnatural point of view from below. - Slanted/Dutch Tilt
This is where the camera is purposely tilted to one side so the horizon is on an angle, creatin an interesting and dramatic effect. Famous examples include Carol Reed’s The Third Man, Orson Welles’ Citizen Kane and the Batman series
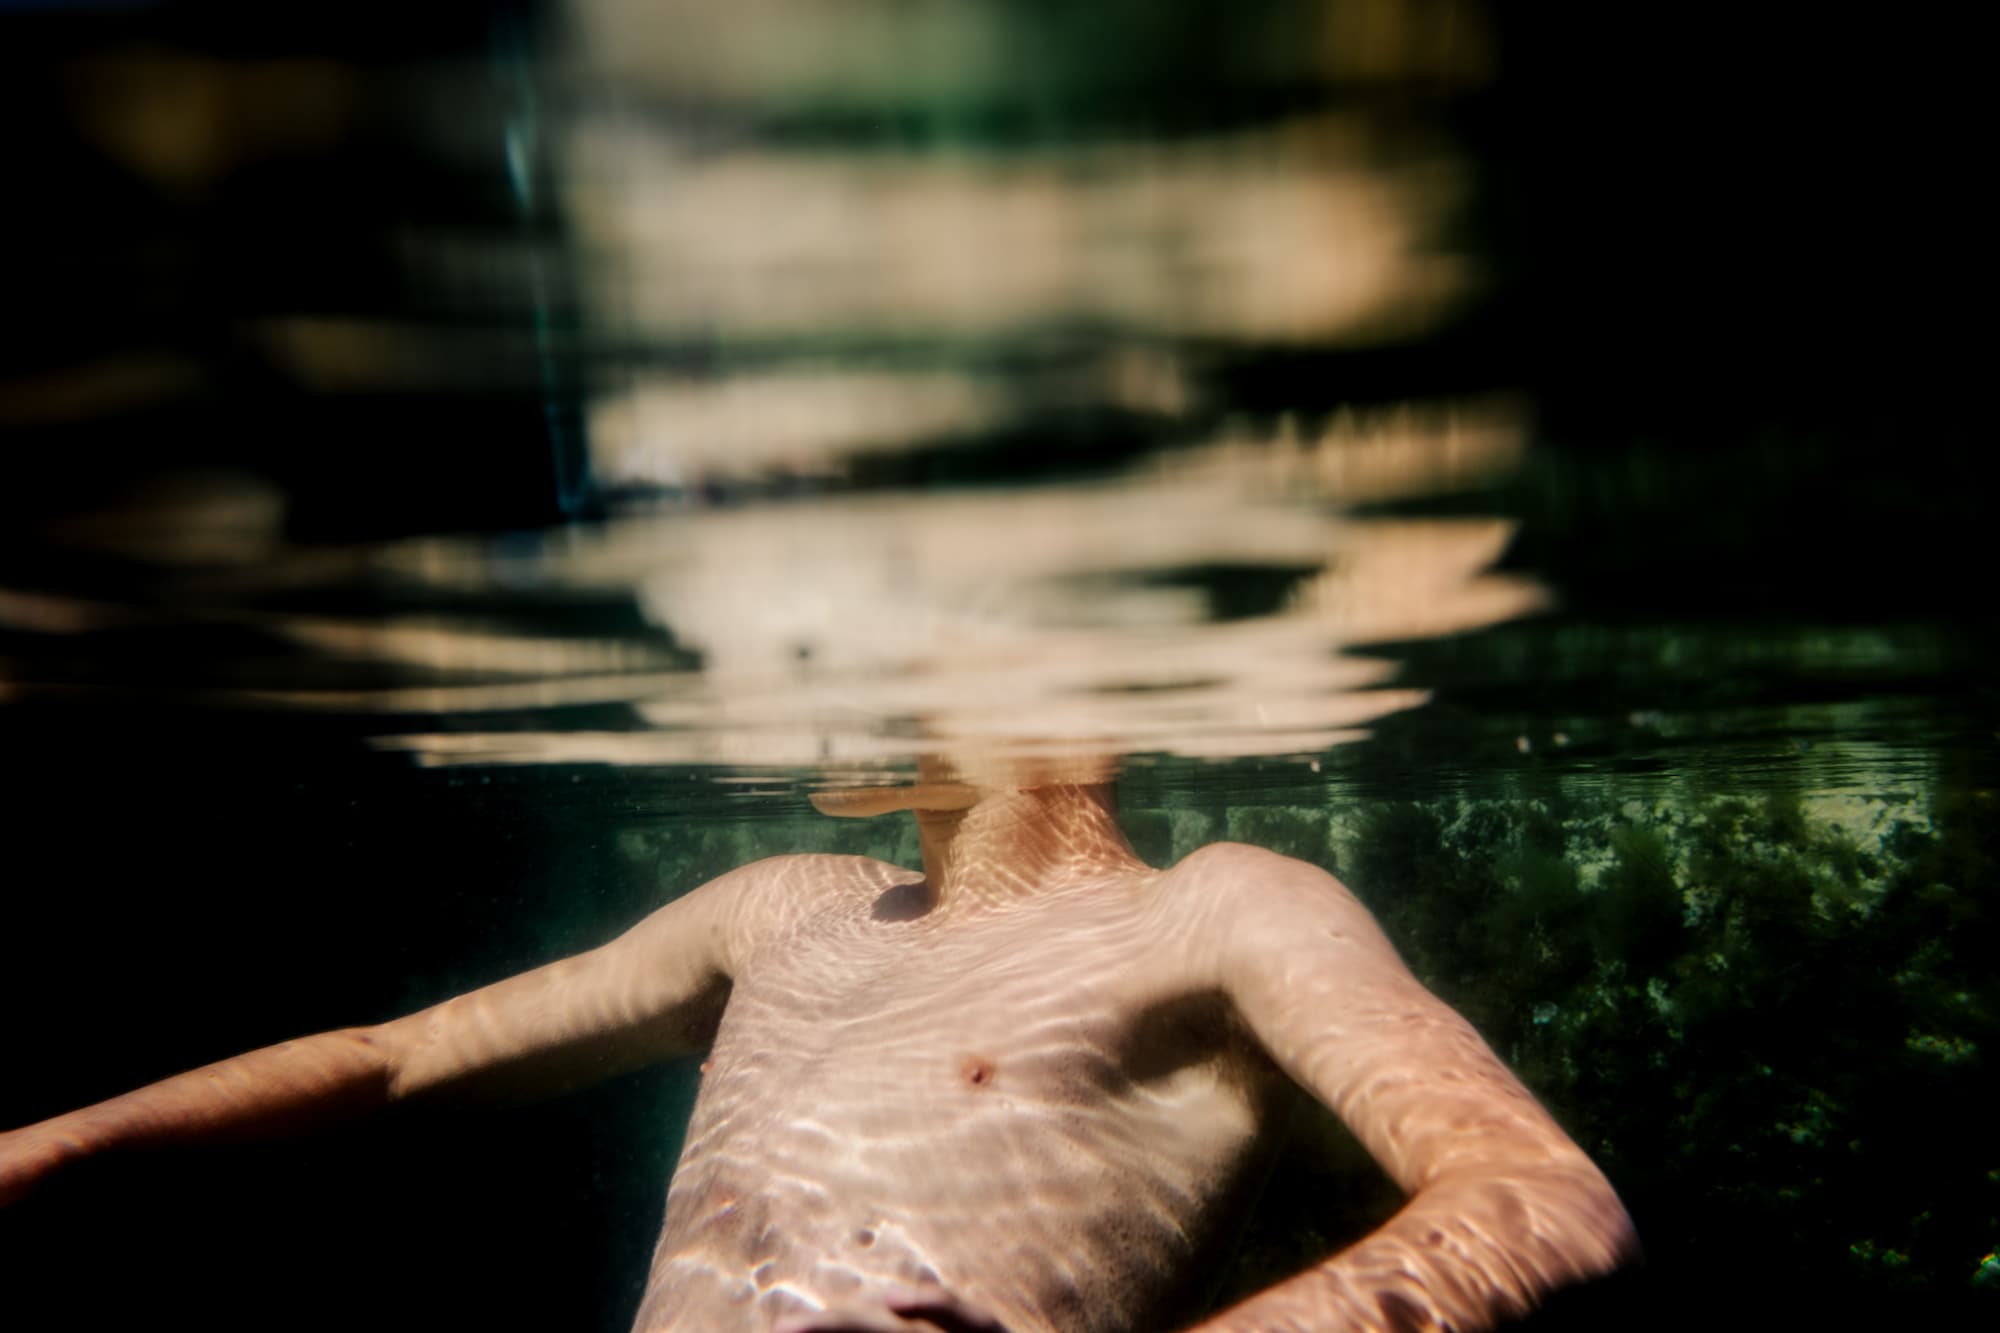
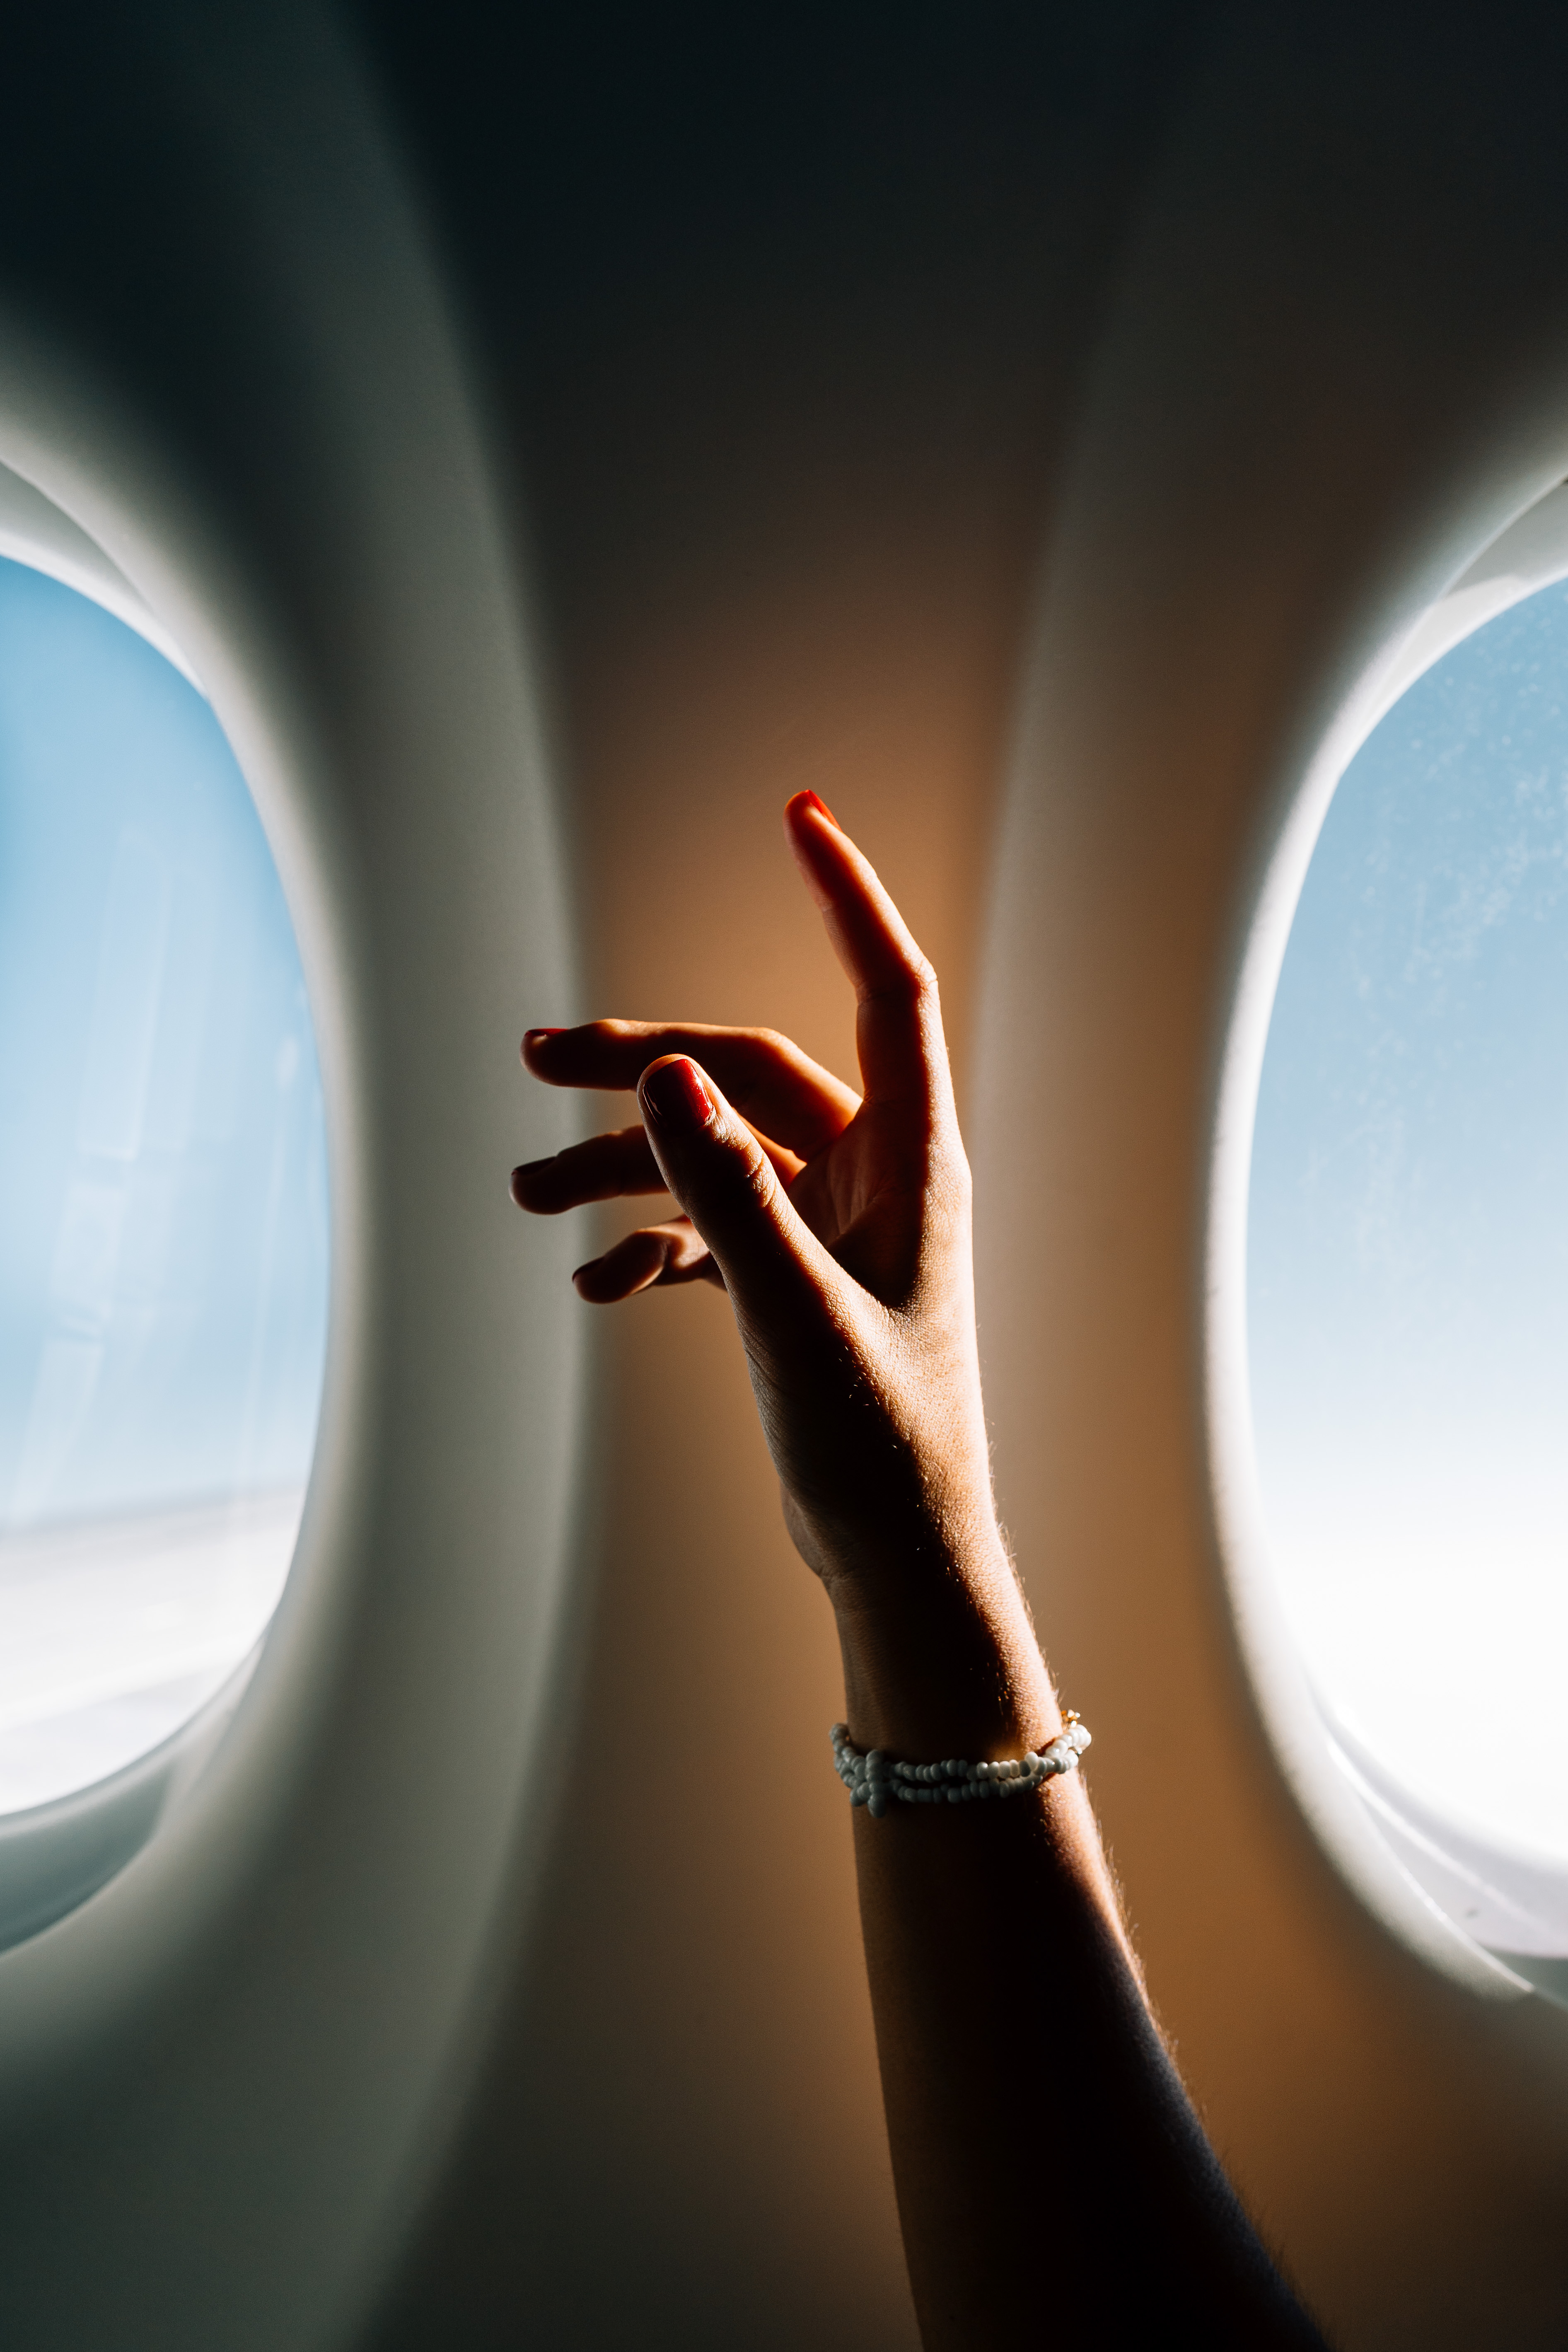
Shot Types
- Extreme Wide Shot
Often used as an establishing shot. In the extreme wide shot, the subject is barely visible. - Medium Wide Shot
The subject is visible but the emphasis is still to place them in their environment. - Wide Shot
The subject takes up the full frame. - Mid Shot
Shows more details of the subject but alludes still to the full subject. - Medium Close up
Halfway between a mid shot and a close-up. - Close up
A certain feature or part of the subject takes up the full frame. - Extreme Close up
With this shot, you can focus on extreme details of your subject. - Over the Shoulder shot
Looking from behind a person to the subject. - POV shot
From the point of view of the subject.
✨Check out Stocksy’s Video Collection and get some inspiration while you’re here


As a filmmaker, director, game designer and podcaster, George Georgeadis is always looking for opportunities to embrace his love of storytelling. In his free time, you’ll find him designing board games, lost in the world of VR, travelling with his husband, stargazing or enjoying his home theatre and movie memorabilia collection.